Previous Up Next

13  Installing the T.O.V.A. on Macintosh

13.1  Starting the T.O.V.A. installer

  1. Please close any other applications that are running before installing the T.O.V.A. , to make sure they do not conflict with the install of the T.O.V.A. .
  2. Plug the T.O.V.A. flash drive into your USB port.
  3. Double-click on ‘T.O.V.A. Installer for Mac’.
  4. On macOS 10.15 or later, the installer may not run the first time. If so, open Apple System Preferences, go to ‘Security & Privacy’, click the ‘General’ tab, and then click the button ‘Open anyway’. When prompted, enter your password to authorize.

13.2  The T.O.V.A. installer

  1. First, the installer will check whether your system meets the minimum system requirements for running the T.O.V.A. . Click ‘Continue’.
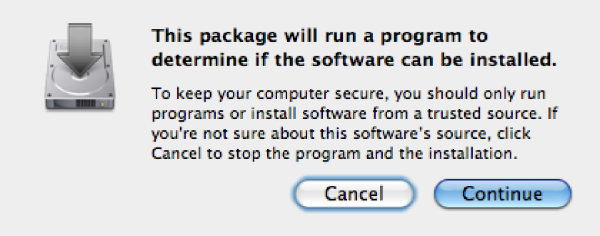
    The T.O.V.A. system check dialog
  2. Once you see the Introduction page (Figure 7), the installation has begun. Click ‘Continue’.
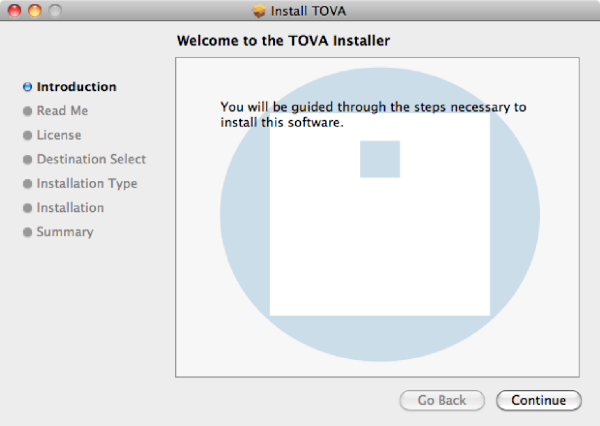
    The T.O.V.A. installer Introduction page
  3. Next, you will see the release notes for the current version. Click ‘Continue’.
  4. When the software license agreement for the T.O.V.A. appears, please read the agreement, click ‘Continue’, and then click ‘Agree’ to proceed with installation.
  5. The next screen shows how much space will be taken by the installation and is the final confirmation before installation takes place.
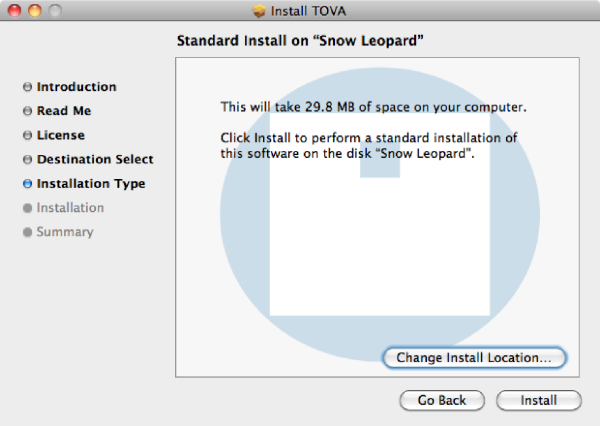
    The T.O.V.A. installer Install Type page

    The install location is the /TOVA folder in the Applications directory of your main volume. Documentation is placed in the Docs folder therein. Do not change the install location or else automatic web updating will not work correctly. Click ‘Install’ to begin installation.

  6. Finally, you will be asked for your password in order to briefly grant the administrator privileges required to complete installation. Enter your password and click ‘OK’.
  7. Installation should complete in a few seconds. After you click ‘Close’, your next step is to configure the T.O.V.A. for this system. Proceed to section 14.

Previous Up Next