


The External Audio/Video session does NOT require rebooting your system. That’s because instead of relying on your system clock, video, etc., the T.O.V.A. hardware handles the timing itself. We manage the test video (or audio) and microswitch, removed from your operating system’s unpredictable delays, so you get the same reliable timing precision and accuracy we have been providing for decades.
What an External A/V session DOES require is an external VGA monitor (and speakers for the auditory test). There must be an external display plugged into the T.O.V.A. USB device for T.O.V.A. testing without rebooting to the PTE. See section 15.2 for detailed instructions.
The T.O.V.A. USB device is installed between your computer and your monitor and speakers. Video and audio simply pass through the T.O.V.A. USB device . When you start the T.O.V.A. test, however, the T.O.V.A. USB device temporarily interrupts your audio and video, instead displaying the T.O.V.A. test. Once the test is completed (or interrupted), your audio and video pass through as normal.
Note: Please make sure to disable, at least temporarily, any Sleep/Standby/Hibernate power settings for your system. Because External A/V testing does not use the keyboard or mouse, some systems will shutdown due to inactivity. See section 37.1 for more information.
If you have set up your hardware for EAV testing, you can check that it’s working and connected correctly. Run the T.O.V.A. and go to ‘Help’, ‘Check T.O.V.A. Hardware’, ‘Test your hardware setup’. This wizard will walk you through verifying all of your connections.
Note: If the first page of the Hardware Setup wizard talks about the “PTE" instead of the “EAV", you need to change your launch settings. In the T.O.V.A. ‘Preferences’, go to ‘Session launch’, select ‘External Audio/Video (EAV)’, click ‘Save’, and then try the Hardware Setup wizard again.
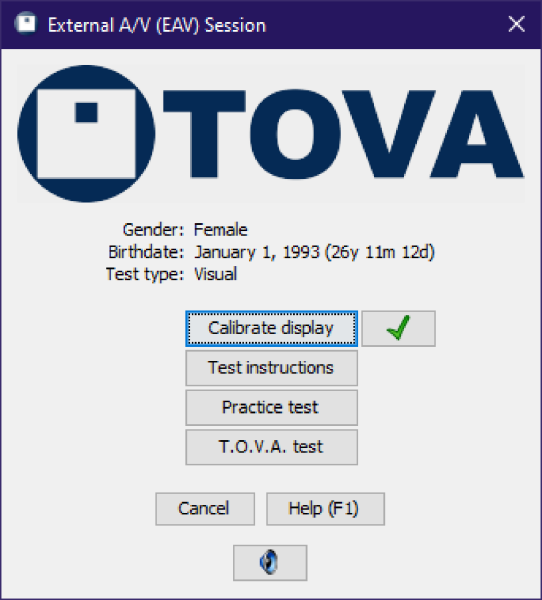 External A/V session